
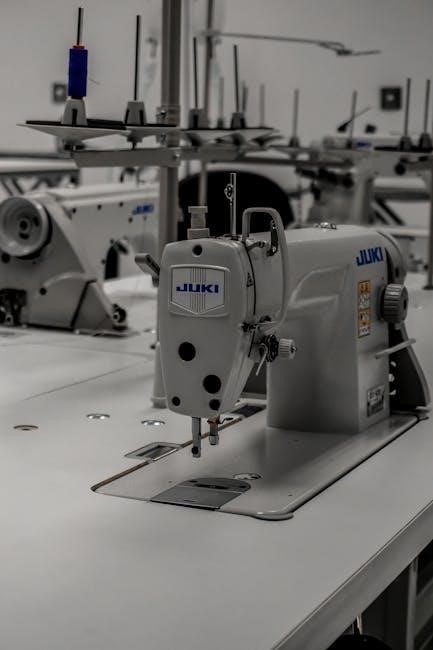
Kenmore sewing machine manuals, including the 158 model, are readily available online as PDF downloads, aiding users in operation and repair.
Sears accounts (sears.com, kmart.com, shopyourway.com) often share credentials, but access issues can occur, requiring troubleshooting for seamless usage.
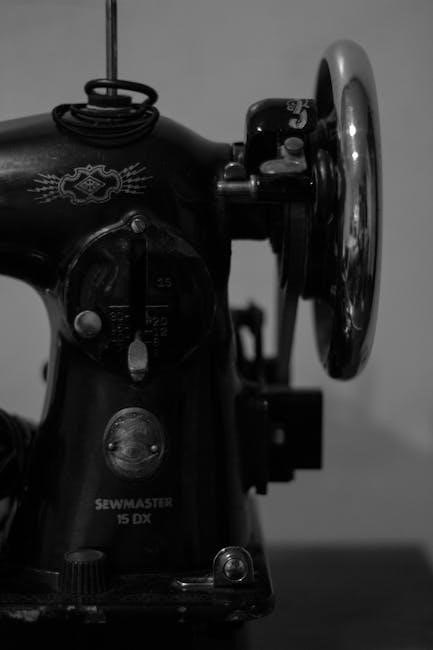
Overview of the Model 158
The Kenmore 158 is a popular, mechanically-driven sewing machine known for its durability and straightforward operation. Finding a dedicated instruction manual is crucial for optimal use, as these PDF downloads detail its features. It’s part of a broader Kenmore family – models 148 and 117 also have available manuals.
This machine caters to basic and intermediate sewing needs, offering reliable performance. Accessing your Sears account (sears.com, kmart.com, shopyourway.com) can sometimes be problematic, but the manual provides guidance for independent maintenance and repair, extending the machine’s lifespan.
Historical Context of Kenmore Sewing Machines
Kenmore sewing machines, manufactured by Sears, Roebuck and Co., gained prominence throughout the 20th century, becoming a household name synonymous with quality and affordability. Accessing a Kenmore 158 instruction manual connects users to this legacy.
Sears’ strategy involved offering reliable machines alongside readily available parts and support. While digital access to accounts like sears.com can sometimes falter, the enduring availability of manuals – including PDF versions – demonstrates a commitment to long-term user support for models like the 158.
Key Features and Specifications
Kenmore 158 manuals detail the machine’s capabilities, while troubleshooting account access (sears.com, kmart.com) is separate from its operation.
Mechanical Components Explained
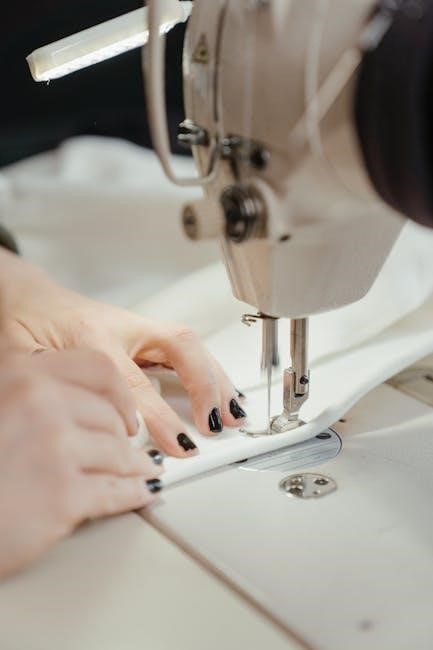
Kenmore 158 manuals illustrate the interplay of crucial mechanical parts. These include the handwheel, presser foot, feed dogs, and needle bar, all vital for fabric manipulation.
Understanding the bobbin case and shuttle hook is essential for proper stitch formation. The tension discs regulate thread flow, impacting stitch quality. Manuals often detail belt adjustments for optimal power transfer.
Account access issues across Sears platforms (sears.com, kmart.com) are unrelated to the machine’s internal mechanics, but represent a separate digital concern.
Electrical System Basics
The Kenmore 158 utilizes a standard electrical system, typically 120V AC. Manuals emphasize electrical safety precautions, advising against operating with damaged cords or in damp environments.
The motor powers the sewing mechanism, controlled by the foot pedal. Understanding the amperage and wattage is crucial for fuse selection and preventing overloads. Troubleshooting sections address motor issues.
While unrelated, resolving Sears account access (sears.com, kmart.com) requires separate digital support, distinct from the machine’s electrical components.
Stitch Types and Capabilities
The Kenmore 158 offers a versatile range of stitches, including straight, zigzag, and potentially decorative options, detailed within the instruction manual. Stitch width and length adjustments allow for varied applications.
Manuals illustrate stitch samples and recommended settings for different fabrics. Mastering these settings unlocks the machine’s full potential for garment construction and repairs.
Account access issues on Sears platforms (sears.com, kmart.com) are separate from the machine’s functionality, requiring independent digital troubleshooting steps.
Setting Up Your Kenmore 158
Kenmore 158 setup involves initial inspection, threading (upper and bobbin), and proper bobbin insertion—all clearly outlined in the available PDF manuals.
Initial Machine Inspection
Before first use, a thorough inspection of your Kenmore 158 is crucial. Verify all parts are present, referencing the parts diagram within the manual. Check for any visible damage to the machine’s body, power cord, or handwheel. Ensure the needle is securely fastened and appropriate for your fabric.
Inspect the bobbin area for cleanliness and proper function. Gently turn the handwheel to confirm smooth operation and listen for any unusual noises. Confirm access to Sears accounts (sears.com, kmart.com, shopyourway.com) isn’t impacted, as manual access may be digital. A pre-use check ensures optimal performance and longevity.
Threading the Machine (Upper Thread)
Refer to the Kenmore 158’s threading diagram in your manual; it’s essential for correct setup. Begin by raising the presser foot. Guide the thread from the spool, through the tension discs, and down to the take-up lever. Ensure the thread is securely seated in each guide.
Continue threading through the upper thread guide and finally, through the needle eye, from front to back. Proper threading is vital for stitch quality. Remember, accessing the manual online may require resolving Sears account (sears.com, kmart.com) login issues.
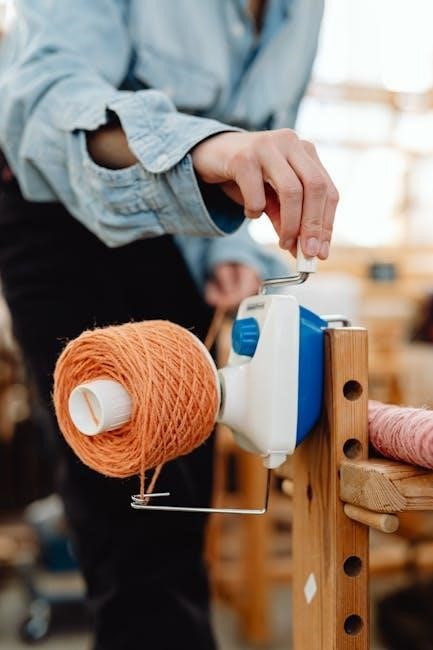
Bobbin Winding and Insertion
Consult your Kenmore 158 manual for precise bobbin winding instructions. Place the spool on the spool pin and guide the thread to the bobbin winder tension disc. Wind several rotations, then engage the bobbin winder.
Once full, disengage and trim the thread. Insert the bobbin into the bobbin case, ensuring it rotates freely. Thread the bobbin thread through the tension spring and guide. Correct bobbin insertion is crucial; account access issues (sears.com, kmart.com) shouldn’t hinder manual retrieval.

Basic Sewing Operations
Kenmore 158 operation involves mastering straight and zigzag stitches, adjusting length/width, and ensuring proper threading—refer to the manual for guidance.
Straight Stitching Techniques
Kenmore 158 straight stitching, a foundational skill, requires correct threading and needle insertion—consult your manual for detailed diagrams. Begin with a test fabric, adjusting stitch length for desired results. Consistent fabric feeding is crucial; guide gently, avoiding pulling or pushing.
Ensure even seam allowances using the edge guide or markings on the machine. Practice maintaining a straight line, gradually increasing speed as confidence grows. Proper tension settings, detailed in the manual, prevent puckering or loose stitches. Remember to backstitch at the beginning and end of seams for secure finishing.
Zigzag Stitching Applications
The Kenmore 158’s zigzag stitch offers versatility beyond basic seams. Refer to your manual for width and length adjustments; wider stitches create decorative effects, while shorter stitches reinforce edges. Utilize zigzag for finishing raw edges, preventing fabric fraying, and creating stretch seams on knit fabrics.
Explore applications like appliqué, attaching elastic, and decorative stitching. Experiment with different settings on scrap fabric to understand the stitch’s capabilities. Proper tension is vital for balanced zigzag stitches; consult the manual for optimal settings based on fabric type and thread weight.
Adjusting Stitch Length and Width
Your Kenmore 158 features dials for precise stitch control; the length dial alters the distance between stitches, impacting seam strength and appearance. Shorter lengths are ideal for delicate fabrics and increased durability, while longer lengths suit basting or gathering. The width dial adjusts the zigzag’s breadth, influencing decorative effects and edge finishing.
Always test settings on scrap fabric before sewing your project. Refer to the manual for recommended settings based on fabric type and desired outcome. Incorrect adjustments can cause skipped stitches or puckering; careful experimentation is key.
Troubleshooting Common Issues
Accessing Kenmore sewing machine resources online can resolve problems; Google Search issues or account access difficulties may require troubleshooting steps.
Needle Breakage Causes and Solutions
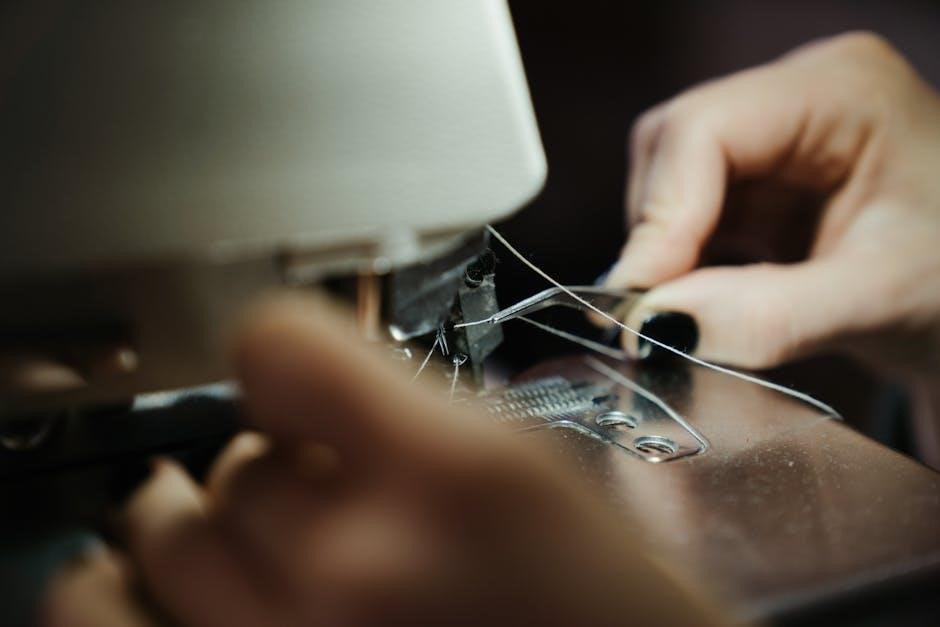
Kenmore 158 needle breakage often stems from incorrect needle size for the fabric weight, a bent or damaged needle, or improper threading procedures.
Ensure the needle is correctly inserted, fully seated, and facing the right direction – consult your manual for diagrams.
Using the appropriate needle type (universal, ballpoint, etc.) is crucial, as is matching it to the fabric’s thickness.
If Google Search access is problematic, consider alternative search engines to locate manual diagrams illustrating correct needle installation.
Finally, avoid forcing the fabric; let the machine feed it smoothly to prevent undue stress on the needle.
Thread Jamming Problems
Kenmore 158 thread jamming frequently arises from improper threading of the upper or lower thread, lint buildup in the bobbin area, or incorrect tension settings.
Re-thread both threads meticulously, referencing the manual’s diagrams to ensure correct paths.
Regularly clean the bobbin case and surrounding areas to remove lint and debris, preventing obstructions.
If accessing the manual online proves difficult due to Google Search issues, explore alternative PDF download sites.
Adjust tension dials gradually, testing on scrap fabric until smooth stitching is achieved.
Motor Issues and Repair
Kenmore 158 motor problems can range from sluggish operation to complete failure; often stemming from a worn belt, internal dust buildup, or electrical faults.
Consult the manual for belt replacement instructions, ensuring correct tension after installation.
Carefully clean the motor area, removing any accumulated dust, but avoid liquid cleaners near electrical components.
If issues persist, and accessing Sears accounts (sears.com) is problematic, seek a qualified sewing machine repair technician.
Attempting complex repairs without expertise can cause further damage.

Maintenance and Care
Regular cleaning, lubrication, and belt checks—detailed in the Kenmore 158 manual—ensure optimal performance and longevity of your sewing machine.
Regular Cleaning Procedures
Kenmore 158 sewing machines require consistent cleaning for smooth operation. Always disconnect the power before starting! Use a soft brush to remove lint from the bobbin area, feed dogs, and surrounding components. A small vacuum cleaner attachment can also be helpful. Wipe down the exterior with a damp cloth; avoid harsh chemicals. Oil access points as indicated in the manual to prevent rust and ensure fluid movement of parts. Consistent cleaning, following the manual’s guidance, extends the machine’s lifespan and maintains stitch quality. Remember to consult the PDF download for specific instructions related to your model.
Lubrication Guide
Proper lubrication is crucial for the Kenmore 158. Refer to your manual or PDF download for specific oiling points – typically, these include the motor, gears, and moving linkages. Use only sewing machine oil; other lubricants can cause damage. Apply oil sparingly, a drop at a time, to avoid buildup. After oiling, run the machine briefly to distribute the lubricant. Regular lubrication, as outlined in the manual, minimizes friction, reduces wear, and ensures quiet, efficient operation. Avoid over-oiling, which attracts dust and lint, hindering performance.
Belt Replacement Instructions
Consult your Kenmore 158’s manual or a PDF version for detailed belt replacement steps. Typically, this involves removing the motor cover and loosening the motor mounting screws. Carefully remove the old belt, noting its routing around the motor pulley and handwheel. Install the new belt, ensuring proper tension – it should be snug but not overly tight. Reattach the motor, tighten the screws, and replace the cover. Proper belt installation, guided by the manual, restores power transmission and smooth operation.

Advanced Techniques
Kenmore 158 manuals detail darning, buttonhole creation, and zipper insertion, expanding sewing skills beyond basic stitches for garment construction and repair.
Darning and Mending
Kenmore 158 manuals provide guidance on utilizing the zigzag stitch for effective darning of worn fabrics and mending tears. This technique reinforces weakened areas, extending garment life. The manual illustrates how to adjust stitch width and length for varying fabric weights and damage severity.
Proper tension settings are crucial for a neat, durable mend. Detailed diagrams within the manual showcase how to position the fabric under the needle, creating a woven repair that blends seamlessly with the original material. Mastering these skills allows for resourceful textile preservation.
Buttonhole Creation
The Kenmore 158 sewing machine manual details a semi-automatic buttonhole process, utilizing a buttonhole foot and specific stitch settings. It guides users through creating consistent, appropriately sized buttonholes for various button types. Diagrams illustrate proper fabric alignment and stitch progression for clean edges.
Adjusting buttonhole length and width is explained, ensuring a secure fit around the chosen button. The manual emphasizes the importance of testing stitch settings on scrap fabric before applying to the final garment, preventing errors and achieving professional results.
Zipper Insertion Guide
The Kenmore 158 sewing machine manual provides detailed instructions for inserting various zipper types – standard, concealed, and decorative. It recommends using a zipper foot for close stitching and precise control along the zipper teeth. Diagrams illustrate proper zipper alignment and fabric positioning for a professional finish.
The manual explains techniques for securing the zipper tape to the fabric, preventing puckering or distortion. It also covers methods for neatly finishing the zipper ends and creating a smooth, invisible zipper application, enhancing garment quality.
Finding Replacement Parts
Kenmore 158 parts can be located through online retailers and local repair shops; identifying correct part numbers is crucial for successful replacements.
Identifying Part Numbers
Accurately identifying Kenmore 158 replacement parts necessitates referencing the original sewing machine manual or detailed parts diagrams available online. These resources typically list specific part numbers corresponding to each component, ensuring compatibility. When searching online retailers or contacting repair shops, providing these numbers is essential for a precise match.
Without the correct part number, ordering the wrong component is highly probable, leading to delays and potential frustration. Sears accounts, while often interconnected, don’t directly assist with part number identification; manual consultation remains key.
Online Retailers for Kenmore 158 Parts
Numerous online retailers specialize in vintage sewing machine parts, including those for the Kenmore 158. Searching using identified part numbers yields the most accurate results. While Sears accounts may offer some parts, availability can be limited. Dedicated sewing machine parts websites often stock a wider selection.
Be mindful of shipping costs and return policies when ordering. Comparing prices across multiple retailers is advisable. Accessing manuals online aids in confirming the correct part before purchase, avoiding costly errors.
Local Sewing Machine Repair Shops
For hands-on assistance and hard-to-find Kenmore 158 parts, local sewing machine repair shops are invaluable. These businesses often possess extensive knowledge of vintage machines and can diagnose issues beyond manual troubleshooting. They may also have used parts available, offering cost-effective solutions.
Consulting a repair shop can be particularly helpful if online resources prove insufficient. Remember to inquire about repair costs and turnaround times before committing to any service. A well-maintained machine lasts longer!
Kenmore 158 Manual Resources
Kenmore 158 manuals are accessible online as PDF downloads, providing diagrams and instructions for operation, maintenance, and troubleshooting assistance.
Locating Original Manuals Online
Finding the original Kenmore 158 sewing machine manual often begins with online searches; numerous websites archive these valuable resources. Websites dedicated to vintage sewing machines frequently host Kenmore manuals, including the 158 model, in PDF format.
Searches for “Kenmore sewing machine manual PDF” or specifically “Kenmore 158 manual” yield promising results. Additionally, exploring online forums dedicated to sewing and vintage machines can connect you with users who may have digitized copies or know where to locate them. Remember to verify the manual’s authenticity and ensure it corresponds to your machine’s specific version.
Digital Manual Availability
Digital Kenmore 158 manuals are widely accessible, primarily in PDF format, offering convenient access on computers, tablets, and smartphones. These digital versions replicate the original printed manuals, providing detailed instructions, diagrams, and troubleshooting guides.
Several websites specialize in hosting vintage sewing machine manuals, making the Kenmore 158 documentation readily available. Downloading these PDF files allows for easy searching and printing of specific sections, enhancing usability and preserving the information for future reference. Ensure downloaded files are from reputable sources.
Understanding Manual Diagrams
Kenmore 158 manuals utilize detailed diagrams to illustrate machine components and sewing processes. These visuals are crucial for identifying parts, understanding their functions, and correctly assembling or disassembling the machine. Pay close attention to exploded views, which showcase how parts fit together.
Diagrams also depict threading paths, stitch formations, and maintenance procedures. Familiarizing yourself with these illustrations simplifies complex tasks and minimizes errors. Refer to the diagrams alongside the written instructions for a comprehensive understanding of the Kenmore 158’s operation.
Safety Precautions
Kenmore 158 operation requires electrical safety awareness and careful needle handling; always prioritize safe machine operation to prevent injuries during sewing tasks.
Electrical Safety Guidelines
Kenmore 158 users must ensure the machine is properly grounded to prevent electrical shock, and never operate it with a damaged cord or plug.
Always disconnect the power supply before performing any maintenance, like belt replacement or cleaning, to avoid accidental activation.
Avoid using extension cords if possible; if necessary, use a heavy-duty cord rated for the machine’s amperage.
Do not expose the electrical components to moisture, and refrain from operating the machine in damp environments.
If the machine exhibits any electrical malfunctions, immediately discontinue use and consult a qualified repair technician.
Needle Safety Practices
When replacing the needle on your Kenmore 158, always ensure the machine is powered off to prevent accidental injury.
Insert the needle correctly, with the flat side facing the back, and tighten the needle clamp screw securely.
Never sew over pins or thick materials that could bend or break the needle, potentially causing damage or injury.
Dispose of broken needles carefully in a designated sharps container to avoid accidental punctures.
Regularly inspect the needle for signs of wear or damage, and replace it as needed for optimal sewing performance and safety.
General Machine Operation Safety
Always disconnect the Kenmore 158 from the power source before performing any maintenance or repairs, safeguarding against electrical shock.
Keep fingers and other body parts clear of the needle and moving parts during operation to prevent injuries.
Never leave the machine unattended while it is running, and supervise children closely when they are near it.
Ensure adequate lighting and a clear workspace for safe and efficient sewing.
Avoid forcing the fabric through the machine; let the feed dogs do the work to prevent strain and potential damage.